
How to iron 2.6 mm mini fuse beads: settings and tips
Before you start
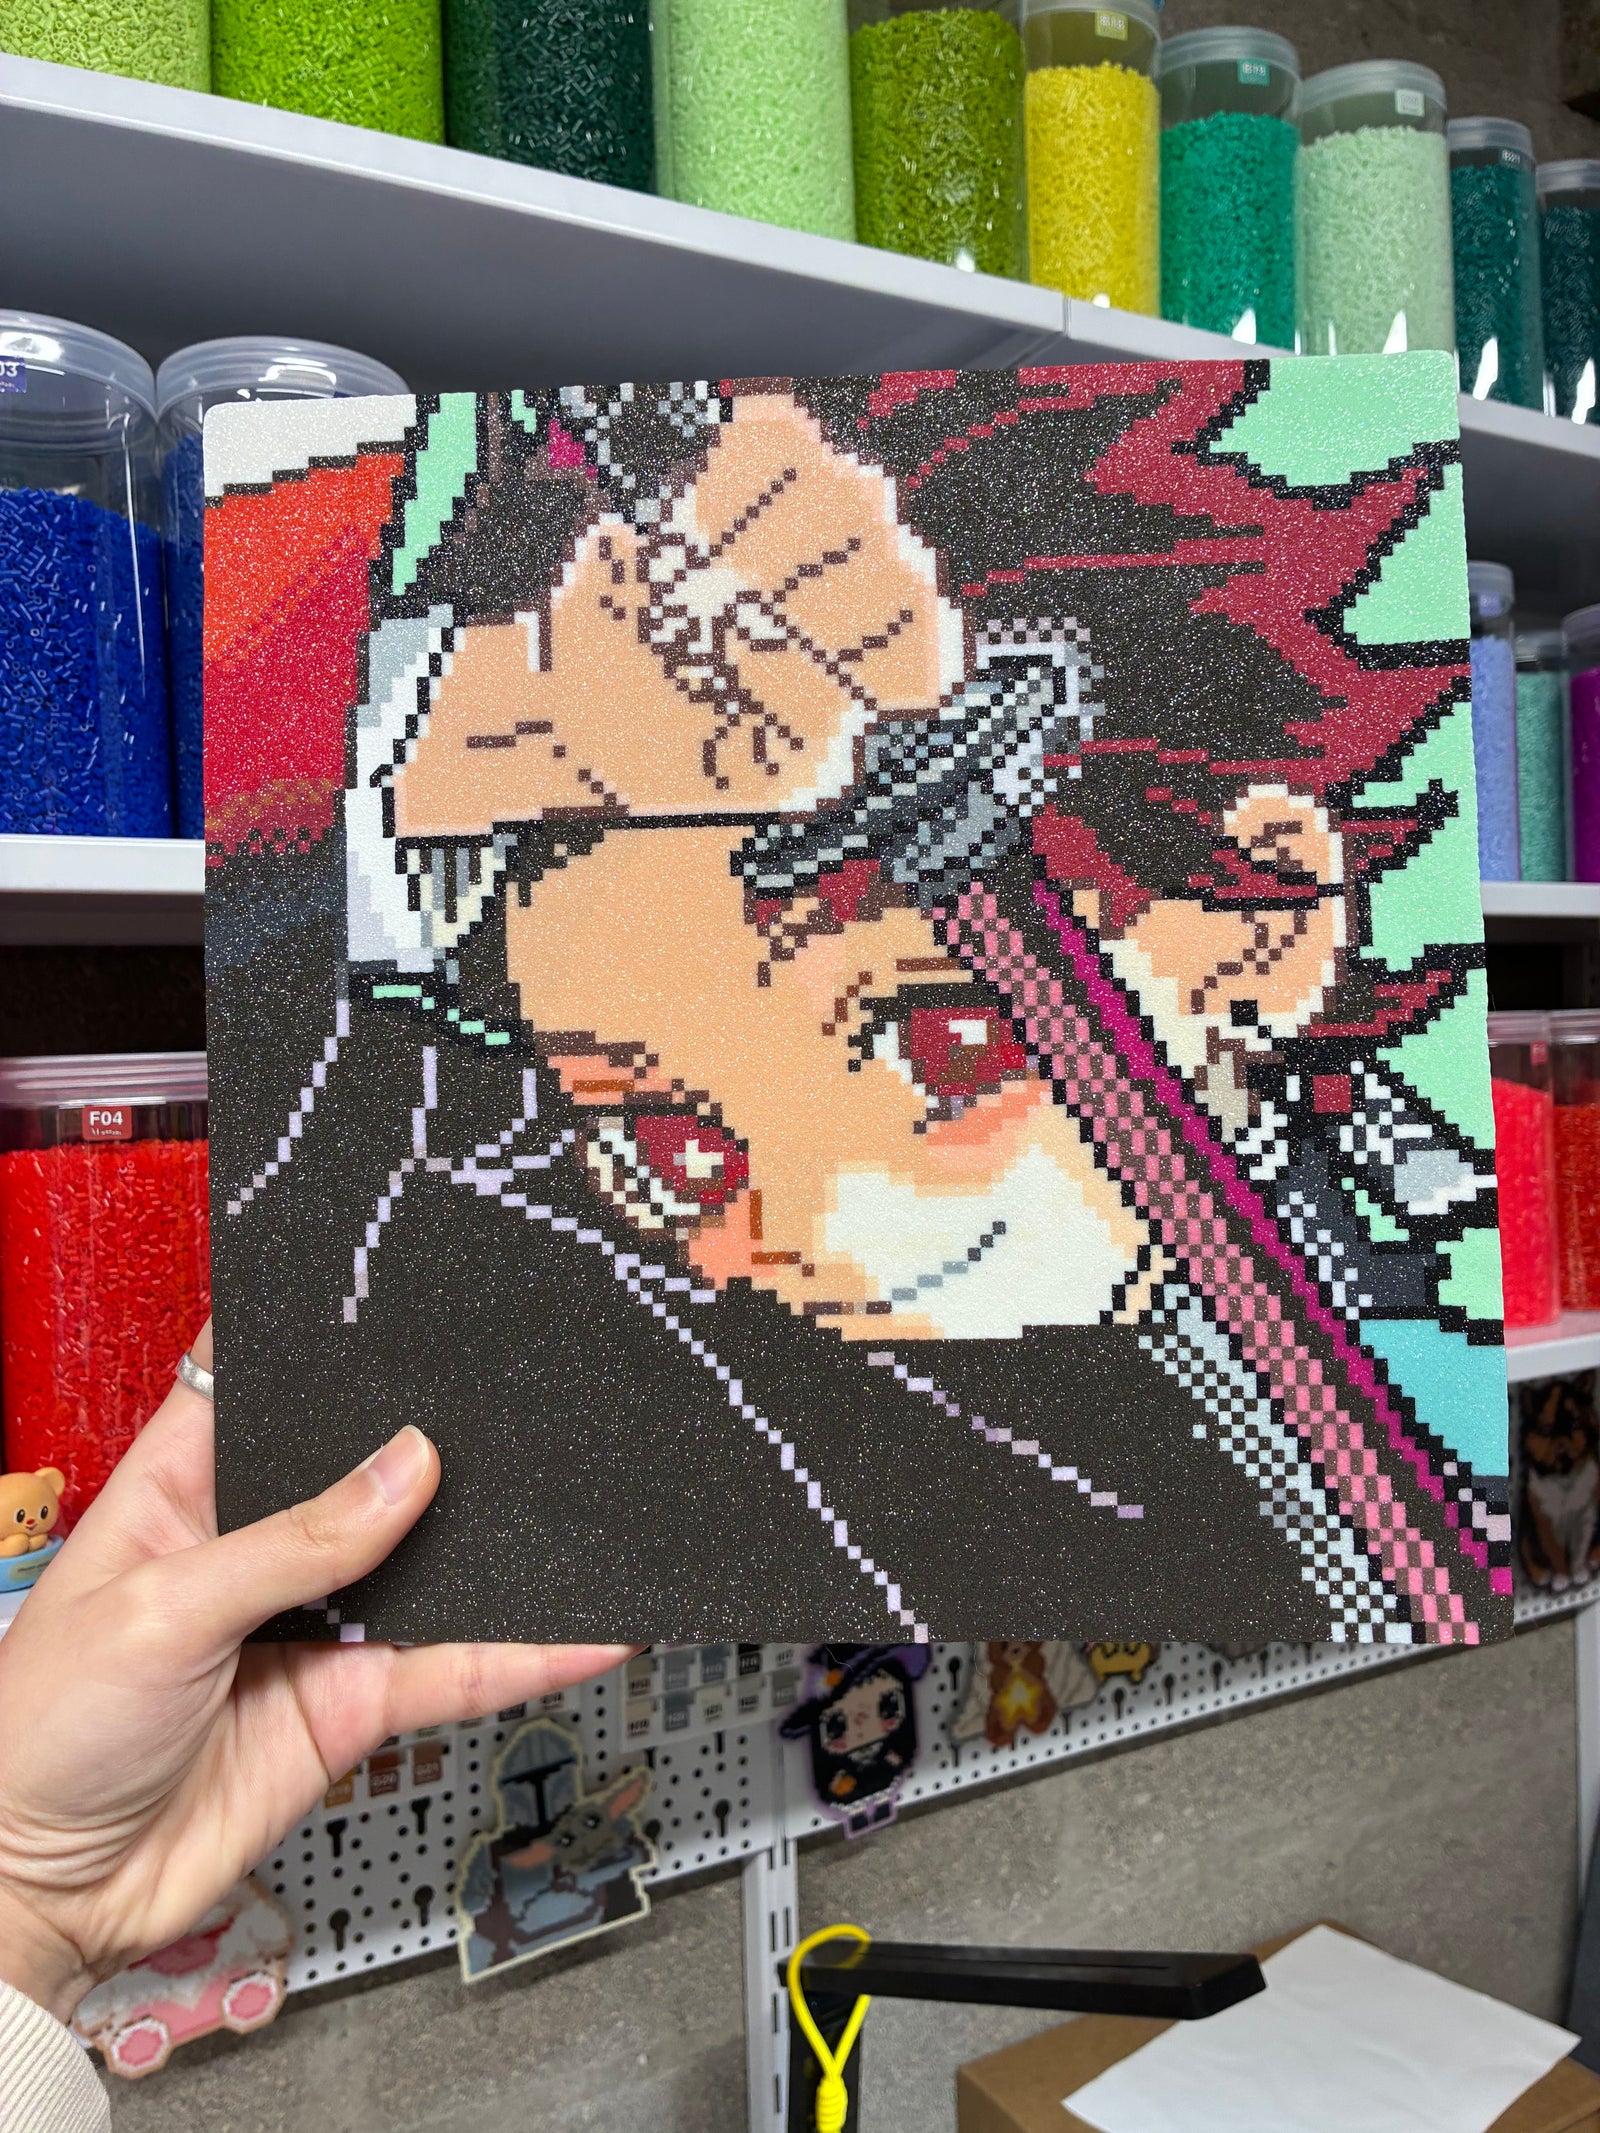
Why do my beads stick to the bag or not slide well?
Static electricity. During shipping, bags and beads rub against each other, so the beads slide less easily.
The fix: open the bag, breathe gently into it, then shake it once it’s slightly misted. The static goes away.
Sorry for the inconvenience. We keep improving our packaging.
At what temperature do your beads melt?
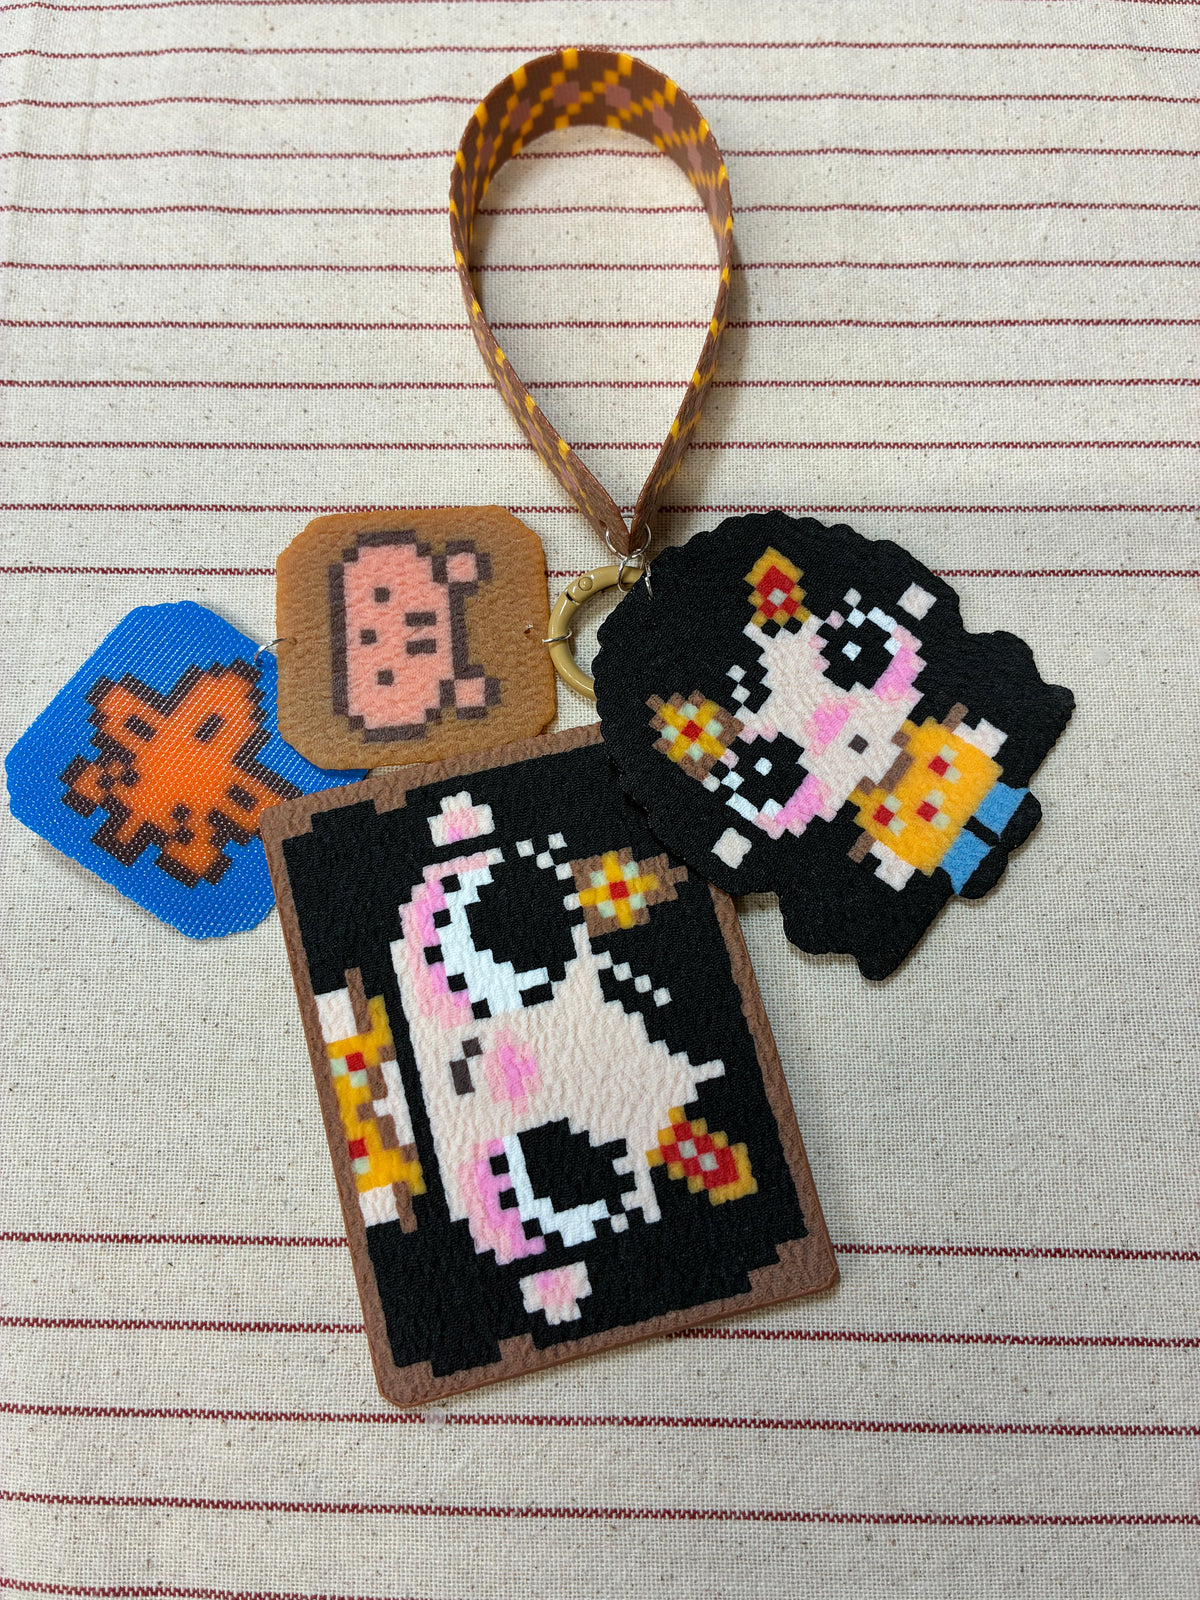
Our beads melt at around 140 °C. Keep this in mind when setting your iron or heat press. Our glow-in-the-dark beads have the same melting point and use the same settings.
How do I keep dust and hairs out of my fused project?
Before fusing, brush your ironing sheet or baking paper with a soft brush (a powder or blush brush works well). This removes dust and especially tiny, almost invisible hairs that could otherwise get stuck in the beads as they melt.
How do I transfer a design with masking tape?
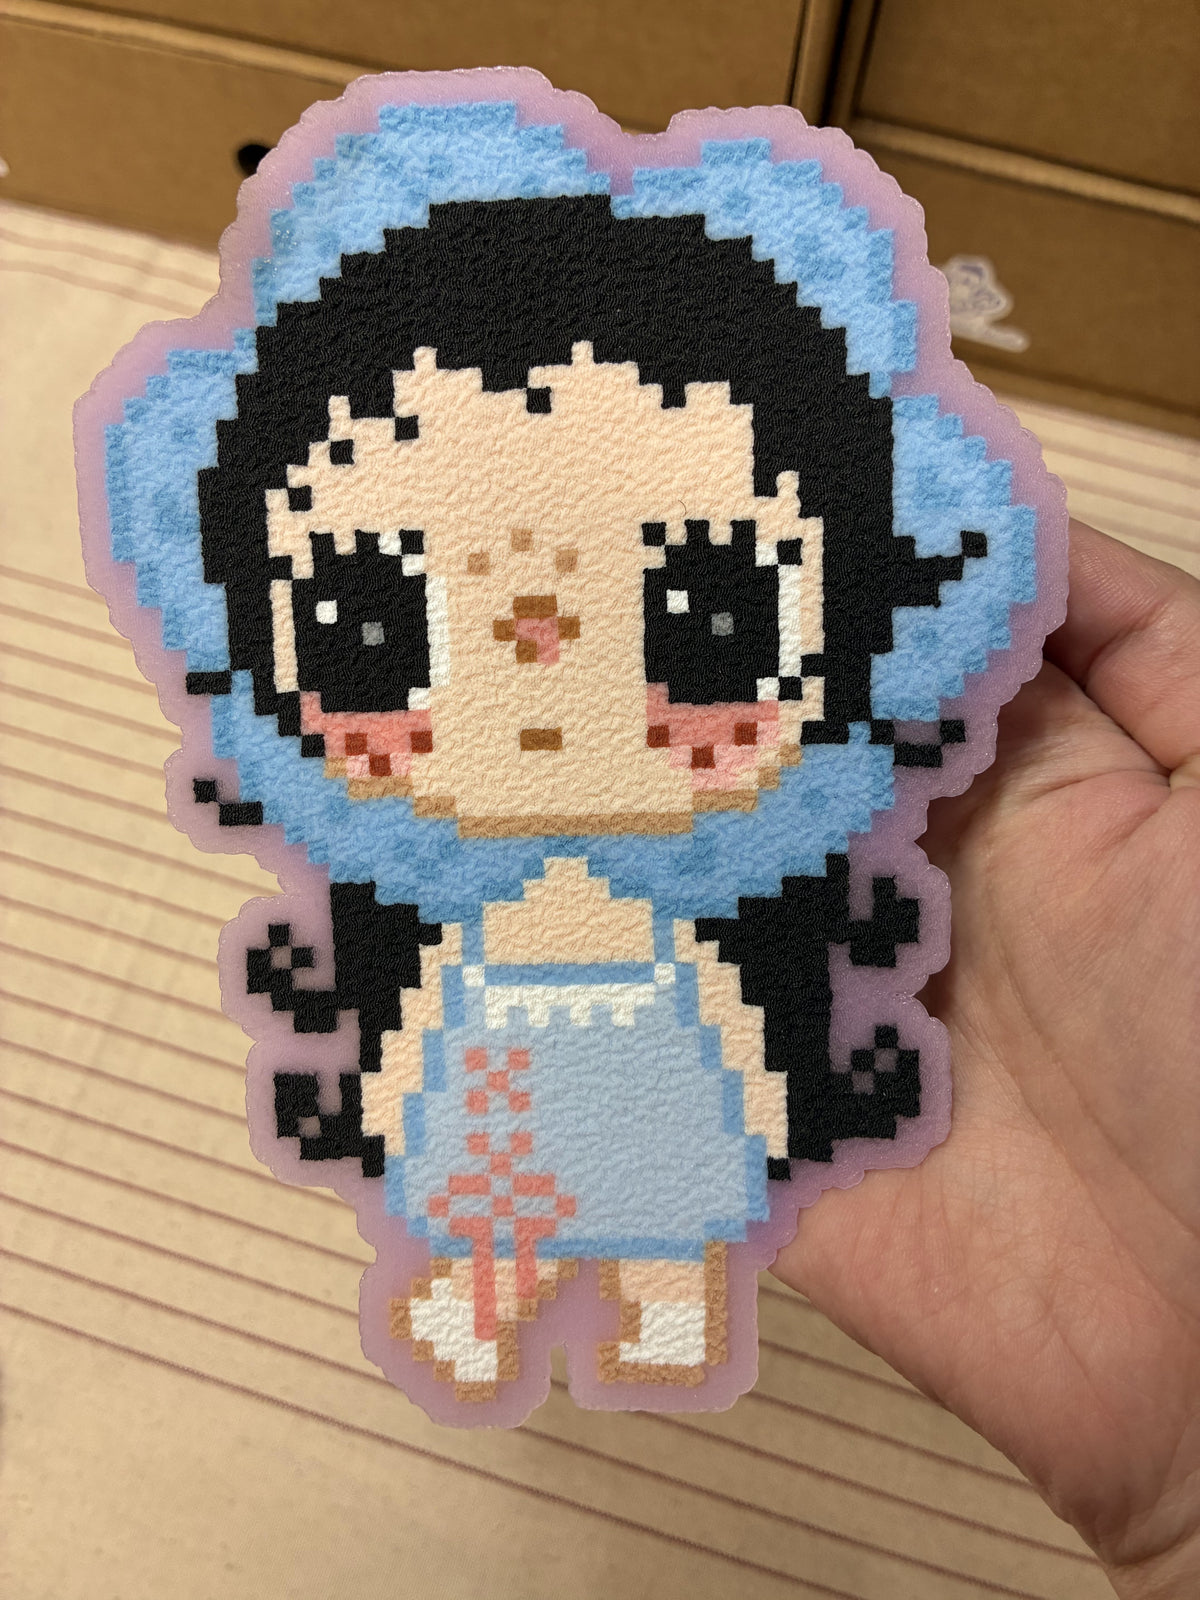
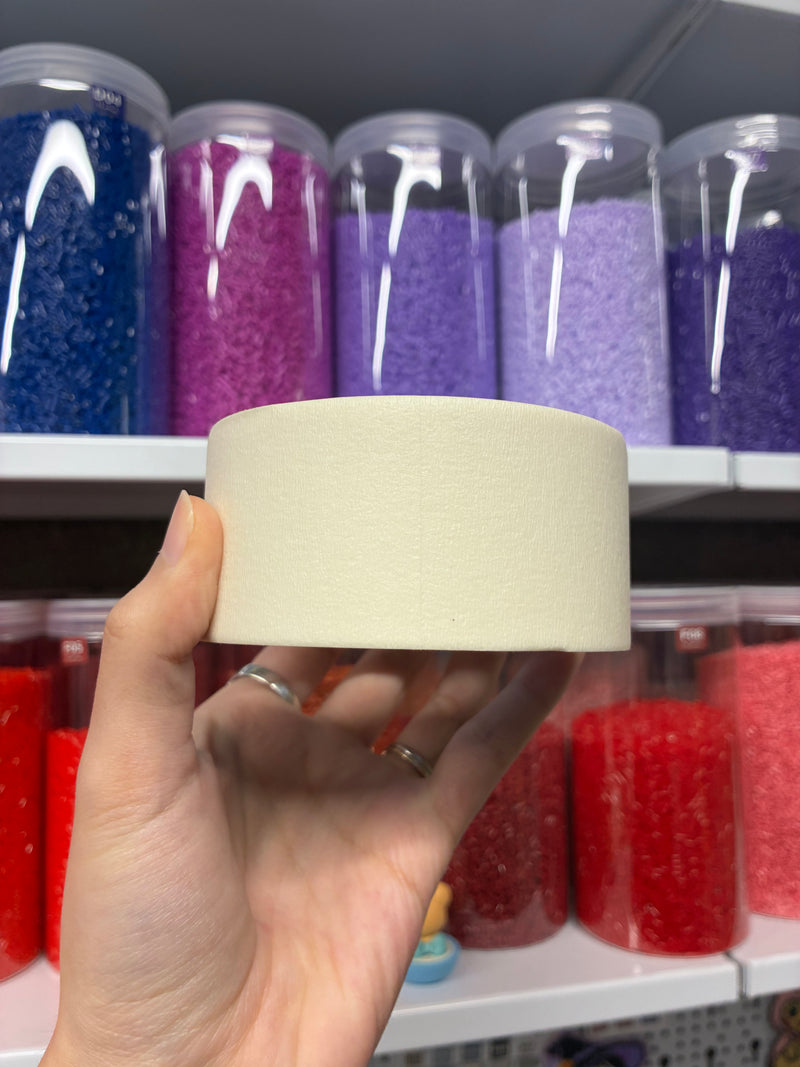
- Make the tape stick well. Once the tape is on your beads, rub the whole surface firmly with the edge of a grooved sorting tray or a standing bead tray (a stiff card works too). Every bead should be in good contact with the tape.
- Remove the pegboard, not the tape. Turn the pegboard over, tape side down. Tap the back of the board a few times, then lift it off. The beads come free from the pegs and stay on the tape.
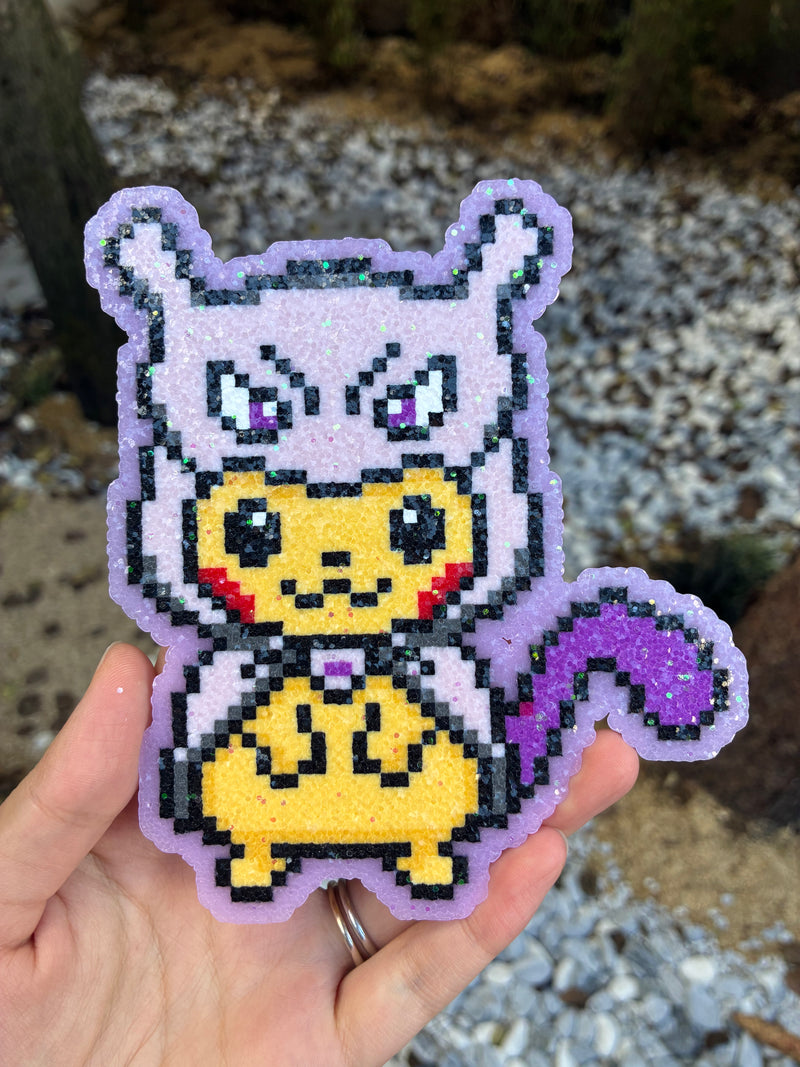
What heat press settings should I use?
In the studio we use two presses: the LOKLiK (handheld) and the xTool (automatic). For a smooth finish, here are our settings:
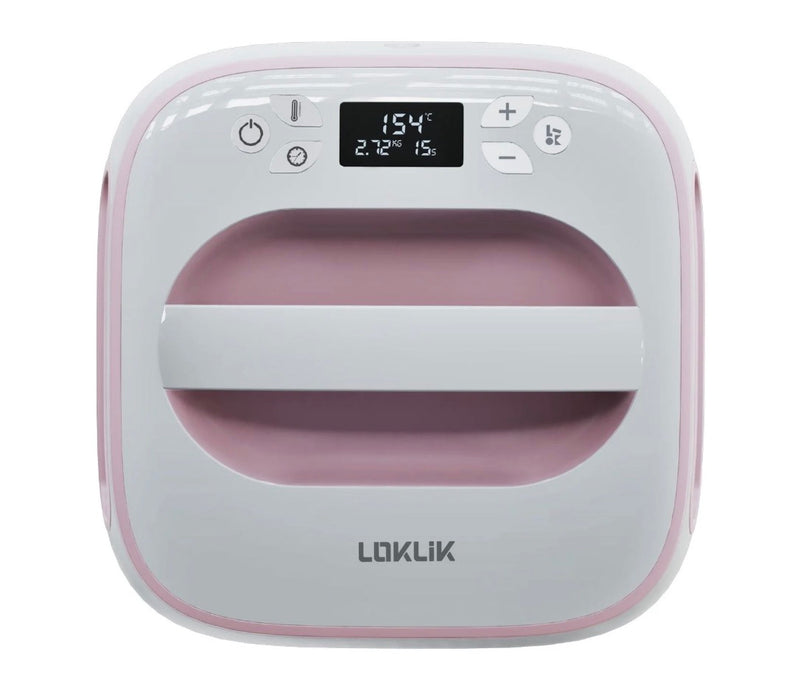

| Setting | LOKLiK (handheld) | xTool (automatic) |
|---|---|---|
| Temperature | 150–160 °C | 150–155 °C |
| Pressure | by hand | 20 kg |
| Time | 30 seconds per pass | 50 to 60 seconds in one pass |
| Passes | 4 to 6, depending on project size | 1, then 1 or 2 extra passes of 20 to 30 seconds if needed |
Settings vary from one press to another. Start with a small test piece, not your final project, to find what works for yours.

How do I adjust the settings for the result I want?
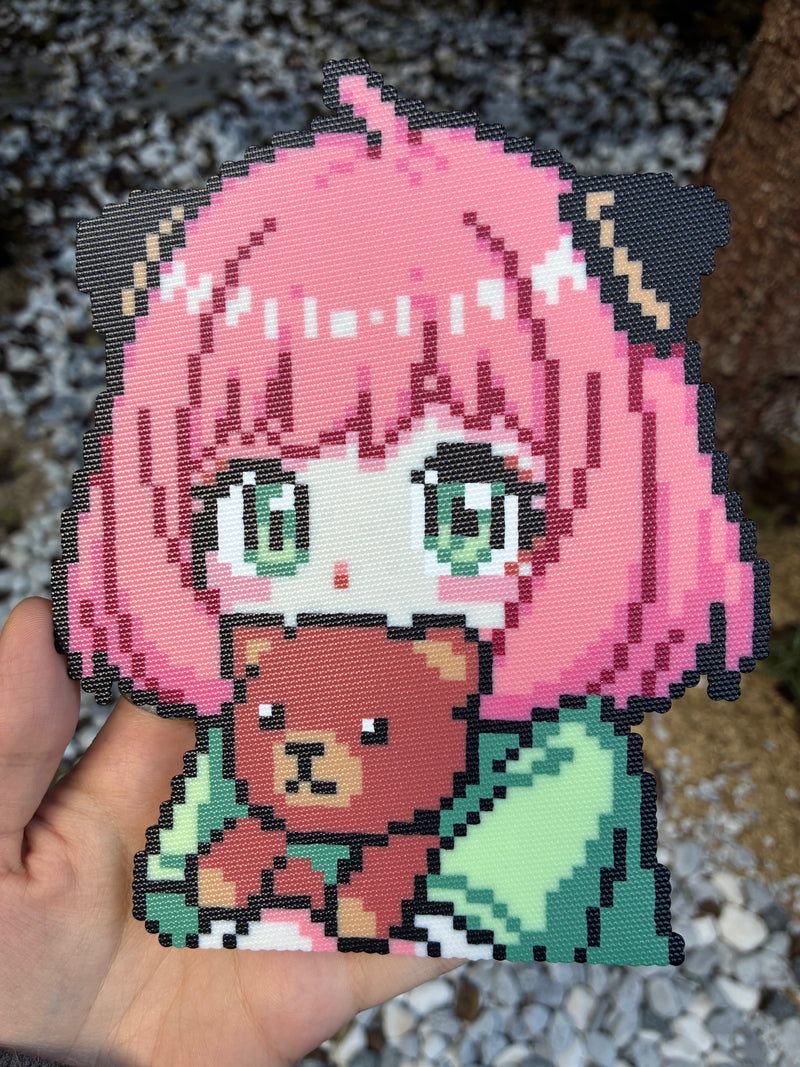
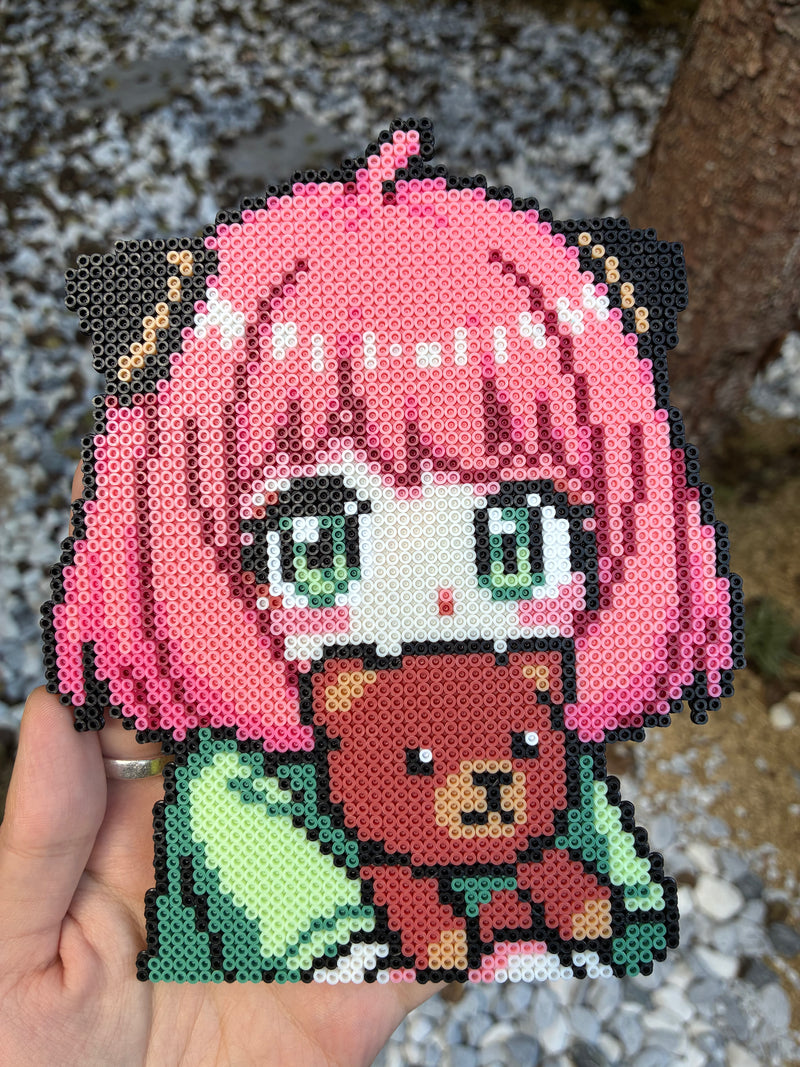
The settings above are for one smooth side with no holes, while the other side (not touching the press) keeps the original bead shape.
| Result you want | Adjustment |
|---|---|
| One smooth side, other side still beaded | Use the settings above |
| Holes visible on both sides | Lower the temperature and time slightly |
| With a glitter sheet or other special ironing sheet | Raise the temperature and time slightly, without going too high |
| You’re a beginner | Low temperature, several short passes, check between each pass |

We don’t recommend very high temperatures. Go step by step, watching your project as you iron, to find the best settings for your own tool.
Frequently asked questions
Can I use a regular household iron?
Yes. Remember our beads melt at around 140 °C, start low and do several short passes, checking as you go.
Can I mix your beads with another brand?
We don’t recommend mixing them with a brand whose melting point is very different: the fusing becomes uneven. Our glow-in-the-dark and regular beads have the same melting point and can be used together.
Do glow-in-the-dark beads need different settings?
No. They have the same melting point as our regular beads and use the same settings.
How long should I let it cool before removing the sheet?
15 to 20 seconds.